The problem was not the product.
The product looked good. The lighting was clean, the camera movement was smooth, and the final close-up gave the shoe exactly the kind of premium feeling the campaign needed.
The problem was that I had sent the wrong version to the media buyer.
It was still a Vidu export, and the small logo in the corner was visible enough to make the video feel like a working draft. We were discussing audience targeting, placement strategy, and campaign variations, but the first thing the team noticed was the mark.
That moment changed how I organize AI-generated advertising material.
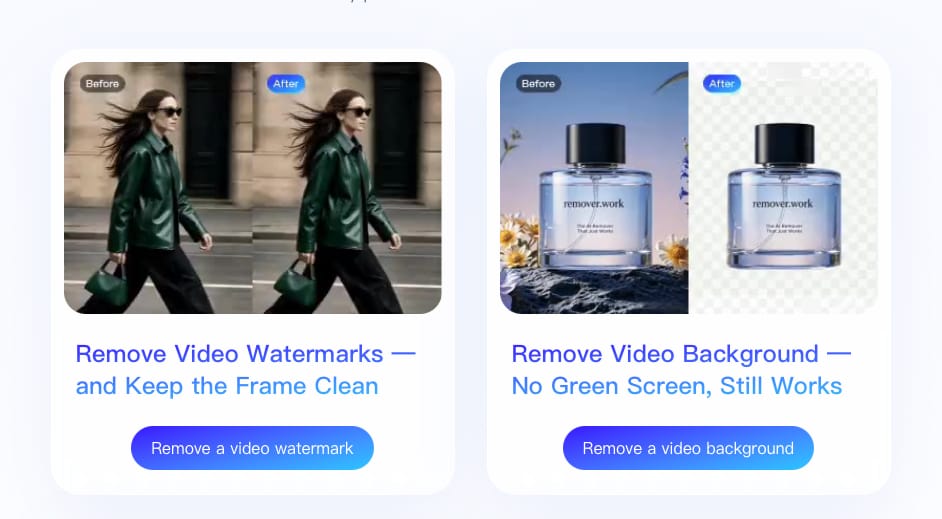
I still use Vidu to explore product concepts quickly, but I now treat watermark cleanup as a separate production stage before a clip enters the paid-media workflow. remover.work became the tool I use for that stage, specifically its vidu watermark remover.
E-commerce makes small details expensive
In a normal social video, a small logo might disappear into the overall composition. In an e-commerce ad, the viewer is expected to study the product.
They look at the texture of a jacket, the shape of a bottle, the finish of a watch, or the movement of a shoe. Any strange blur, repeated pattern, or visual interruption near the product can affect credibility.
I noticed this most clearly in product variations. I often create several Vidu clips for the same item: one with a rotating camera, one with a lifestyle background, one with a close-up, and one designed for a vertical placement.
If every version carries a visible generation mark, the whole campaign starts to look like a collection of unfinished experiments. The cleanup step is not about making the video look more expensive than it is. It is about giving each variation the same visual starting point.
I begin with the original file
Before using the vidu watermark remover, I go back to the original file downloaded from Vidu.
I avoid versions that have already been sent through chat apps, content management systems, or social networks. Those services can add compression before I even begin working. Fine edges become softer, small product text loses clarity, and reflections become harder to judge.
The current remover.work page supports MP4, MOV, and WebM uploads. I keep the original export untouched and create a working copy for removal.
For a campaign with multiple products, my folders usually include:
source Vidu exports;
candidate clips;
cleaned master files;
16:9 presentation versions;
4:5 feed versions;
9:16 short-form versions;
final files with captions and brand graphics.
This structure may sound obvious, but it prevents one common mistake: treating a cleaned file as the only version of the asset. I always want the original available for comparison or future revisions.
Uploading the first test
The dedicated Vidu page is simple to use. I upload a source clip and wait for the initial result.
One detail I pay attention to is the current status of Vidu-specific detection. The page explains that it is using the general logo-removal path while a validated platform sample set is being calibrated. It also says that coverage is not guaranteed for every Vidu export.
That is useful because it sets the correct expectation. I do not assume the platform name alone proves that every clip will behave identically. I test the actual footage I plan to use.
For my first sample, I choose the clip with the most information near the mark. A product turning under hard light is more revealing than a still shot against a blank background. I want to see how the repair behaves when textures, shadows, and reflections are moving at the same time.
How I evaluate the processing
I do not judge the result only by whether the logo is gone. I watch what happens around it.
If the product is a sneaker, I inspect the sole, stitching, laces, and the boundary between the shoe and the floor. If it is a bottle, I look at the label, cap, highlight, and glass reflection. If it is clothing, I examine fabric folds and the movement of the material.
The repaired area should remain visually connected to the surrounding frame. I look for:
a soft block that follows the old logo;
repeated texture in the background;
a sudden change in sharpness;
an unnatural edge around the product;
a highlight that flickers as the camera moves.
These problems are easy to miss when the video is paused. I watch the preview at normal speed first, then scrub through the most active movement.
The page describes the free preview as the first five seconds at source resolution. I use that short section as a decision point before processing the complete clip.
My quality-control routine
I have developed a practical inspection order.
First, I watch the clip without stopping. This tells me whether the repaired area creates an immediate distraction.
Second, I pause at the strongest product frame. I compare the repaired corner with the rest of the image and check whether the product still has the same level of detail.
Third, I move through the clip one frame at a time. I focus on camera pans, object rotations, hand movements, reflections, and changes in background lighting.
Fourth, I place the clip next to the other campaign variations. A single repaired video may look acceptable by itself but still stand out when the next clip has a different level of sharpness or texture.
Finally, I watch it in the intended placement. A product video can look fine in a desktop editor but feel different inside a vertical mobile feed, where the viewer sees the image much closer and often in full-screen mode.
What happens if the badge remains
The current Vidu page offers a practical fallback. If the badge remains in the preview and stays in one position, I can use the general Remove Any Logo workflow and draw a tight box around the mark.
I prefer to keep that selection narrow. A large box asks the system to rebuild more of the frame than necessary. A focused selection gives me a clearer target and makes the output easier to inspect.
This manual option is also useful when a Vidu export has an unusual composition or when automatic detection does not fully remove the visible mark. I do not need to abandon the clip immediately. I can test a more controlled approach and compare the results.
Building the final advertising package
After the cleaned clip passes inspection, I export one master version.
The master then becomes the source for every platform variation. I create a landscape version for presentations and landing pages, a 4:5 version for feed placements, and a 9:16 version for Reels, Shorts, and TikTok.
Captions, pricing, product benefits, logos, and call-to-action graphics come later. This order matters because I do not want to position campaign elements around a watermark that should not exist in the final material.
I also name each version clearly so that the media buyer, designer, and client are not choosing between files with vague labels. A clean handoff is part of the creative process.
Why I keep using remover.work
I like remover.work because the workflow gives me a clear separation between experimentation and delivery.
Vidu is where I explore ideas. My editor is where I shape the story and build the advertisement. The vidu watermark remover sits between those two stages and helps me decide whether a generated clip is ready to move forward.
Its most distinctive value is not the removal itself. It is the ability to test a candidate before spending time processing and formatting the entire asset. That matters when a campaign contains dozens of variations and only a few will survive the final review.
The tool also encourages better production habits: preserve the source, use the preview, inspect motion, and export a clean master before making platform versions.
What I would not skip
I would never approve a difficult clip based on a thumbnail. Logos over simple backgrounds are easier to handle than logos near product text, faces, hands, glass, metal, or fast movement.
I also use the workflow only on footage I created or have permission to modify. Removing a visible platform mark does not change ownership, licensing, or any disclosure requirement connected to AI-generated advertising.
My process now looks like this: generate several Vidu concepts, choose a representative clip, upload the original, inspect the first five seconds, use the manual fallback if needed, export the master, and only then prepare the paid-media versions.
If your Vidu product video is ready creatively but still looks like a raw platform export, try the short preview before rebuilding the whole campaign around it.
The first 5 seconds are completely free, delivered at the original quality, with no additional watermark.